3.22.10 Condimental: Whip It 2.0
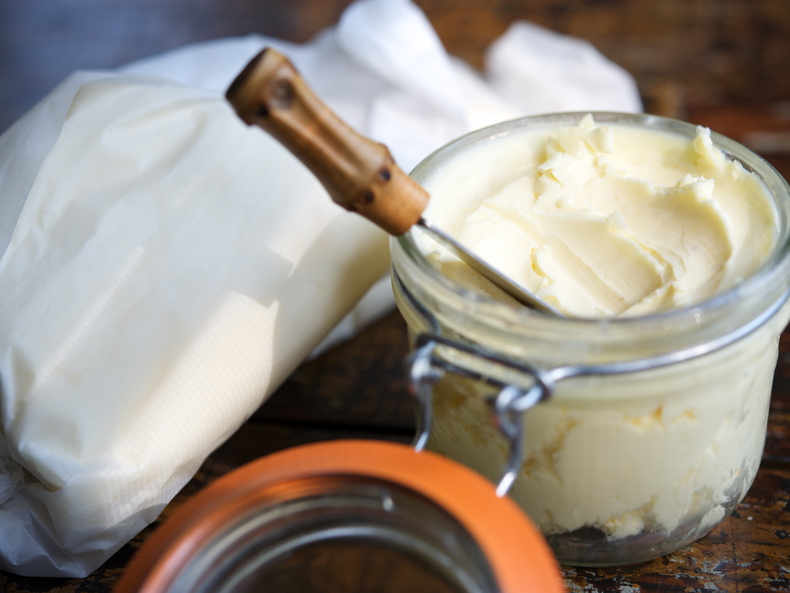
They were all out of the organic whipped butter I favor at Whole Foods the other day and, on a whim, I decided to try making my own. I had read somewhere recently about how easy it is—you just proceed as if you were making whipped cream and keep going! I had no idea how much cream to get so I erred on the side of too much, as usual. But I was remembering how when you make paneer, it takes 2 gallons of milk to get one measly portion of cheese. I guess because cream is fattier it doesn't release so much liquid. In the end, I wound up with more than a pound of butter! I added sea salt and froze about three-quarters of it it as I don't really use all that much butter. Why bother with all this? It was easy, it was fun, it was interesting and, in the end, I wound up with delicious, creamy and golden organic butter. If you have kids, I bet they would get a kick out of joining you in the kitchen for this one.
A number of sources recommended you culture the cream before making butter. This gives the butter a slightly tangy taste. Unfortunately, I did not have the patience to wait for this to happen. Once I decided I wanted to make butter, I wanted to do it NOW. But next time I think I will see what this is all about. You simply add a few tablespoons (50 ml) of store-bought cultured yogurt, buttermilk, sour cream or creme fraiche, and let it sit for about 12 hours at warm room temperature (75°F is ideal) to thicken and ferment before churning.I've read that you can make butter simply by shaking cream in a jar, but if you're making a large quantity like I did, I recommend using a stand mixer with the whisk attachment. The yield is pretty straightforward: 1 pint of cream yields 1 cup of butter (2 sticks or 1/2 pound), and one cup of buttermilk run-off. You can save the buttermilk to drink or use in cooking (it's nice in soups or pancakes).HOMEMADE BUTTERmakes 1 pound of butter & 2 cups of buttermilk2 pints heavy cream, preferably raw or organic (the fresher and more pristine the better)sea saltLet your cream come to slightly colder than room temp (60 degrees is ideal). Pour it into the bowl of your mixer and let it rip. The fun part is you get to let it keep going on purpose—past soft peaks, past firm peaks, until it "breaks." It will look curdled. Keep whipping until the butter takes on a golden hue and begins to release liquid. You may need to turn the mixer speed down now so the buttermilk doesn't splatter all over. Keep whipping until the butter clumps together leaving the liquid in the bowl.Now, line a colander with cheesecloth and set it over a bowl in the sink. Pour the contents of the mixing bowl into this and let all the buttermilk drain into the bowl. Squeeze the butter in the cheesecloth to get out any additional buttermilk. Remove the buttermilk bowl, and run cold water over the butter, kneading it at the same time to release any further buttermilk. The rinsing is to remove any traces of buttermilk, as this sours easily and can make your butter turn rancid.Return the cleansed butter to the clean mixing bowl and prepare to whip it a bit more, making it creamier and also giving you the opportunity to beat in salt, if you like. Start with about 3/4 teaspoon and adjust according to your taste.When you're done whipping, you can mold the butter into sticks (or any shape you like) and wrap it in parchment paper or saran to store in the fridge or freezer. I scooped some into a small mason jar to keep in the fridge and froze the rest wrapped in parchment. I admit to feeling very proud and accomplished. Of such small pleasures is the good life made.The buttermilk is very delicious and also good for you. Stir it into soups, scrambled eggs or your pancake batter. It can also be drunk plain to aid with digestion.


7 Comments